Yes, you heard me right… home baked Twinkies! I saw those words in this photo from Lisa M’s Magic Show 7th Birthday and had to learn more, much more. Lisa sweetly put together this tutorial and all I can say is thank you and… yum!

Hi there! I am Lisa from MooreMinutes and I am super happy to be sharing here today! I’m a party-lover. I feel passionate about making every moment in life count and using celebrations to cultivate beauty.
Recently I hosted a Magic Show Party for my son’s 7th birthday. When creating the dessert area, I wanted to focus on classic desserts in a homemade form. We had homemade Oreos, donuts, and Twinkies!

Today I want to share some little tips with you on baking Twinkies in your home sweet home.
This Twinkie recipe is automatically an instant winner because it comes from King Arthur’s Flour website. Their recipes are total perfection. I’m only sharing the tips here. For full recipe details, see King Arthur’s Flour.
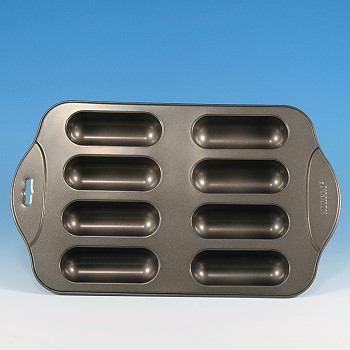
You can make your Twinkies look exactly like the Hostess Bakery ones by using a canoe pan. However, I used a traditional muffin pan for mine.
The secret ingredient in homemade Twinkies is Princess Flavoring! You can purchase it at Hobby Lobby.

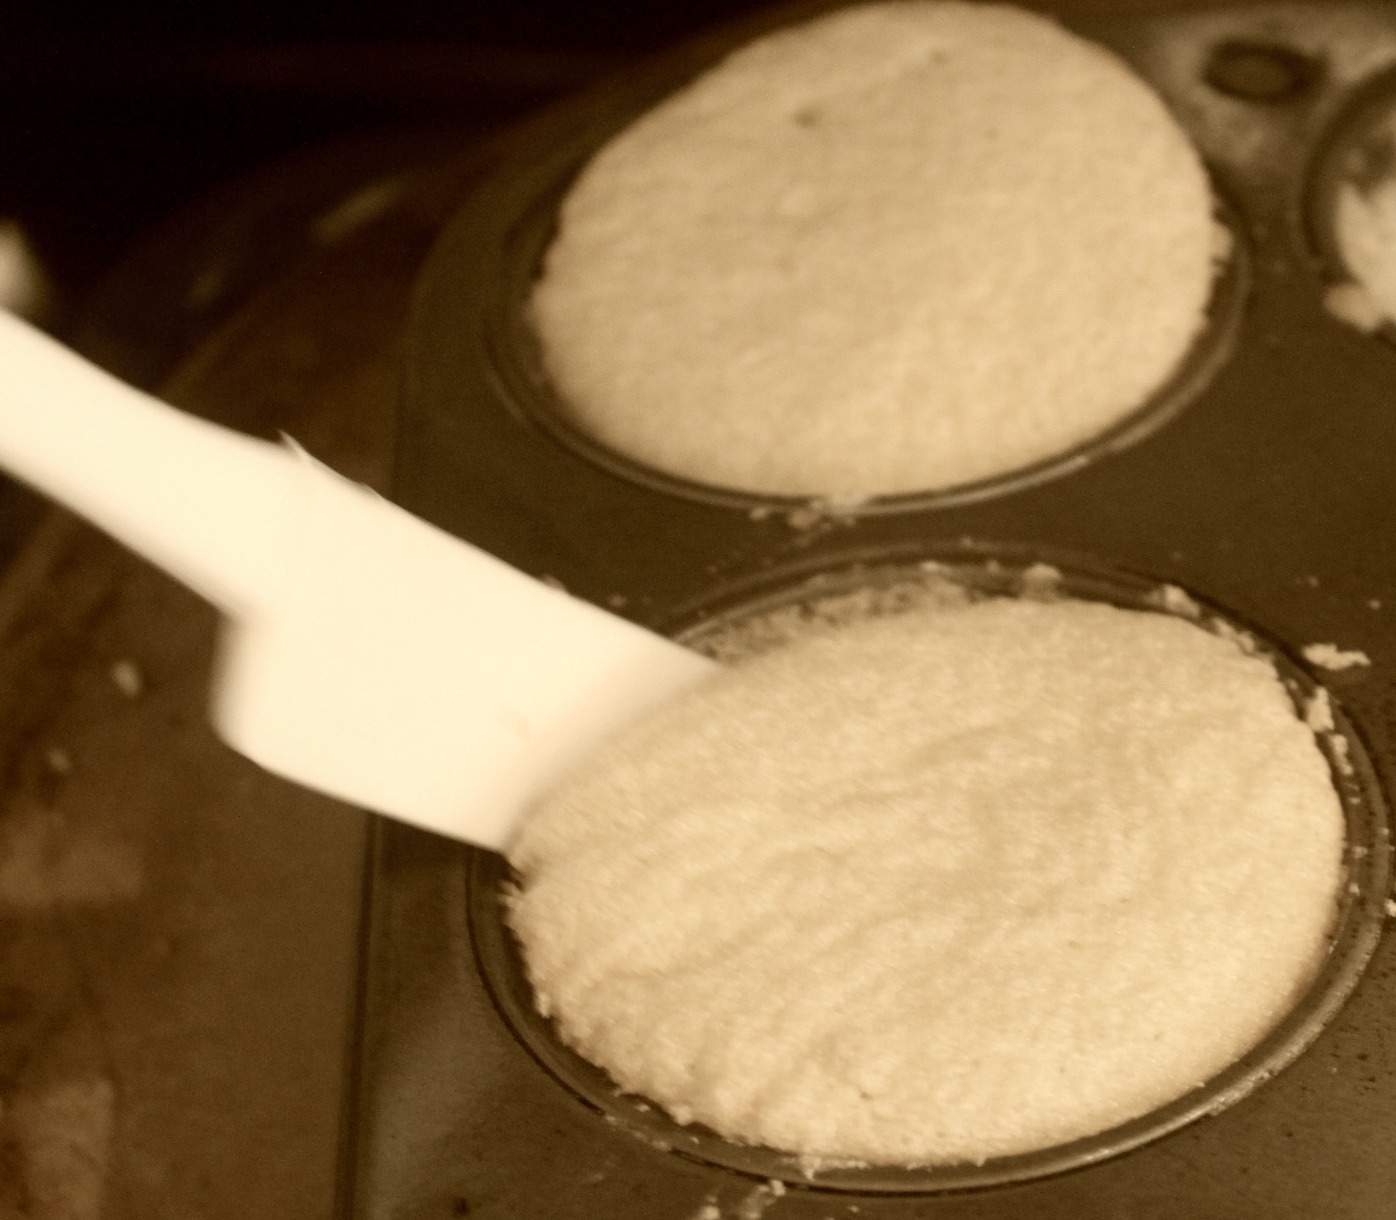
The biggest tip when making these is to beat the egg white until they are VERY stiff. They should be able to completely hold their shape. It is also important to be extra gentle when folding the egg whites into the batter. Don’t stir or mix. Simply fold the batter over the egg whites until the whites are covered.

You can see that the batter looks spongy. This is GOOD. After your little sweets are finished baking, cool for 5 minutes before removing from pans. When removing, use a soft spatula to softly break away from the edges and lift out of the pan. Your Twinkies should spring back when touched.
After your Twinkies cool, it’s time for the fun stuff! Filling the centers with that amazing cream is super easy! Prepare your cream according to the recipe and fill a pastry bag.

Turn the Twinkie upside down and gently press the pastry tip into the bottom of the Twinkie. Squeeze the cream in…but…don’t squeeze too hard or else the Twinkie will explode. {wink}

Fill in three different places on the bottom of the Twinkie so it will certainly be puffy with sweet cream!


Ta da! You’re done!
They are ready to embellish. You can use any pretty cupcake liners to set them in and top with adorable cupcake toppers.

Home baked goodness adds that extra bit of warmth to your party!
Lisa, we couldn’t agree more. Thank you for putting this together. These look sooo delicious. I can’t wait to try them. My family is going to flip!
To learn more about Lisa, please check out her blog, MooreMinutes, where you can read about her adventures in entertaining, parties, and home decor. Also, check out the other insanely amazing parties she’s added to our site.
5 comments
Leanne wrote:
Oh My! Those look amazing! I love Lisa and her blog. She always has such great ideas.
Stacey H wrote:
So wonderful and creative. I love this idea. I agree Lisa is fantastic and I love her blog too!
Dorey wrote:
Yum! Lisa's food and parties ALWAYS look amazing! :D
Nancy wrote:
Looks super good! Thanks for sharing your secrets Lisa!
Chriss wrote:
hope to get more information soon ... thanks because my children like this!
To leave a comment Log in -or- Join the party