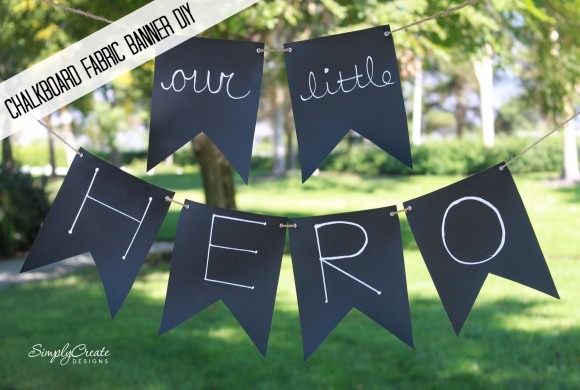
Denise, owner and party stylist of Simply Create Designs, is here with another awesome DIY! She’s showing us how to make a reusable chalkboard fabric banner. Cool idea, Denise!
Chalkboard banners have become extremely popular. I recently discovered chalkboard fabric at my local craft store. The fabric is perfect to create chalkboard banners for any occasion, photo props or even home decor!

Supplies:
- ½ – 1 yard of chalkboard fabric(depending on the length of your banner)
- ⅛ hole punch
- ⅛ inch eyelets
- Eyelet setter tool, hammer, and setting mat
- Ribbon or twine (3-4 yards)
- Chalk and chalk marker
- Banner template
- Scissors
1. Print and cut out the banner template here or create your own.

2. Place the template on top of your fabric and cut out enough banners to complete your saying

3. Next, you will need to prime your fabric just like a chalkboard. Rub the side of a piece of chalk over the entire surface from top to bottom and side to side

4. Using a damp cloth wipe off the chalk and repeat

5. Punch holes in each corner of the banner flags using your hole punch

6. Insert the eyelet through the holes so the rounded edge of the eyelet is on the front of your banner and turn over your fabric

7. Place the eyelet setter tool against the eyelet

8. Tap the end of the tool with the hammer (this should only take about 2 or 3 short taps)

9. Tap until the eyelet is flattened

10. Repeat until all banner flags are completed

11. Write on your fabric using the chalk marker

12. If you make a mistake, it’s OK, the chalk easily wipes off with a damp cloth or baby wipe

13. String together with matching ribbon or twine

14. Hang your banner and remember it can be used over and over again!

To learn more about Denise, and see all of her custom party printables and handmade party supplies, check out her Etsy shop, Simply Create Designs, and her Facebook page.
add your comment
To leave a comment Log in -or- Join the party